> For the complete documentation index, see [llms.txt](/llms.txt).
Heads up
You've landed on a guide that still uses the MetaMask legacy SDK (`@metamask/sdk`). The MetaMask Connect integration for this library is coming soon. Once ready, it will be linked from the sidebar navigation. In the meantime, this guide is still valid if you're using MetaMask SDK.
# Connect to MetaMask using Dynamic SDK
Get started with MetaMask SDK and [Dynamic SDK](https://docs.dynamic.xyz/introduction/welcome). Use MetaMask SDK features directly within Dynamic SDK. [Download the quickstart template](#set-up-using-a-template) or [manually set up the SDKs](#set-up-manually) in an existing dapp.
[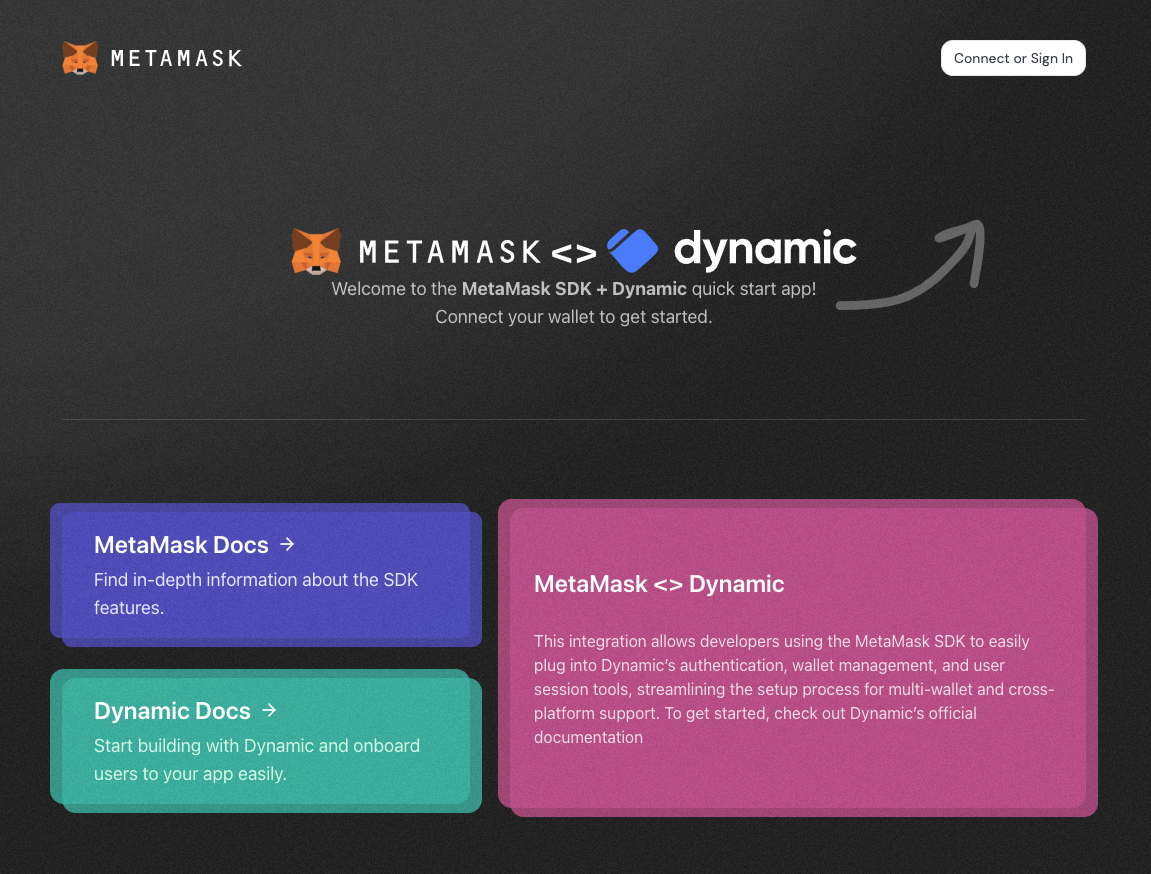](https://metamask-dynamic-demo.vercel.app/)
## Prerequisites[](#prerequisites "Direct link to Prerequisites")
- [Node.js](https://nodejs.org/) version 19 or later installed.
- A package manager installed, such as [npm](https://docs.npmjs.com/downloading-and-installing-node-js-and-npm), [Yarn](https://yarnpkg.com/), [pnpm](https://pnpm.io/installation), or [bun](https://bun.sh/).
- [MetaMask](https://metamask.io/) installed in your browser or on mobile.
- A [Dynamic Environment ID](https://app.dynamic.xyz/).
## Set up using a template[](#set-up-using-a-template "Direct link to Set up using a template")
1. Download the [MetaMask SDK + Dynamic SDK template](https://github.com/MetaMask/metamask-sdk-examples/tree/main/partners/dynamic):
```
npx degit MetaMask/metamask-sdk-examples/partners/dynamic metamask-dynamic
```
2. Navigate into the repository:
```
cd metamask-dynamic
```
Degit vs. Git clone
`degit` is a tool that enables cloning only the directory structure from a GitHub repository, without retrieving the entire repository.
Alternatively, use `git clone` to download the entire repository. Clone the MetaMask SDK examples repository and navigate into the `partners/dynamic` directory:
```
git clone https://github.com/MetaMask/metamask-sdk-examples
cd metamask-sdk-examples/partners/dynamic
```
3. Install dependencies:
```
pnpm install
```
4. Create a `.env.local` file:
```
touch .env.local
```
5. In `.env.local`, add a `NEXT_PUBLIC_DYNAMIC_ENVIRONMENT_ID` environment variable, replacing `` with your Dynamic Environment ID:
.env.local
```
NEXT_PUBLIC_DYNAMIC_ENVIRONMENT_ID=
```
6. Run the project:
```
pnpm dev
```
You've successfully set up MetaMask SDK and Dynamic SDK. See how to [use the combined SDKs](#usage).
## Set up manually[](#set-up-manually "Direct link to Set up manually")
### 1. Install dependencies[](#1-install-dependencies "Direct link to 1. Install dependencies")
Install the SDK and the required dependencies to an existing project:
- npm
- Yarn
- pnpm
- Bun
```
npm install @dynamic-labs/sdk-react-core @dynamic-labs/ethereum @dynamic-labs/wagmi-connector wagmi viem @tanstack/react-query
```
```
yarn add @dynamic-labs/sdk-react-core @dynamic-labs/ethereum @dynamic-labs/wagmi-connector wagmi viem @tanstack/react-query
```
```
pnpm add @dynamic-labs/sdk-react-core @dynamic-labs/ethereum @dynamic-labs/wagmi-connector wagmi viem @tanstack/react-query
```
```
bun add @dynamic-labs/sdk-react-core @dynamic-labs/ethereum @dynamic-labs/wagmi-connector wagmi viem @tanstack/react-query
```
### 2. Configure providers[](#2-configure-providers "Direct link to 2. Configure providers")
Set up your providers in `app/providers.tsx`:
providers.tsx
```
"use client";
import { DynamicContextProvider } from "@dynamic-labs/sdk-react-core";
import { EthereumWalletConnectors } from "@dynamic-labs/ethereum";
import { DynamicWagmiConnector } from "@dynamic-labs/wagmi-connector";
import { WagmiProvider } from "wagmi";
import { config } from "@/wagmi.config";
import { QueryClient, QueryClientProvider } from "@tanstack/react-query";
export function Providers({ children }: { children: React.ReactNode }) {
const queryClient = new QueryClient();
return (
{children}
);
}
```
### 3. Set up environment variables[](#3-set-up-environment-variables "Direct link to 3. Set up environment variables")
Create a `.env.local` file. In `.env.local`, add a `NEXT_PUBLIC_DYNAMIC_ENVIRONMENT_ID` environment variable, replacing `` with your Dynamic Environment ID:
.env.local
```
NEXT_PUBLIC_DYNAMIC_ENVIRONMENT_ID=
```
Test your dapp by running `pnpm run dev`.
## Usage[](#usage "Direct link to Usage")
### Connect wallet[](#connect-wallet "Direct link to Connect wallet")
Use the Dynamic Widget in your components:
```
"use client";
import { DynamicWidget } from "@dynamic-labs/sdk-react-core";
export const Navbar = () => {
return (
);
};
```
### Check wallet status[](#check-wallet-status "Direct link to Check wallet status")
Use the `useAccount` hook from Wagmi:
```
"use client";
import { useAccount } from "wagmi";
export const Hero = () => {
const { address, isConnected } = useAccount();
return (
{isConnected ? (
Connected: {address}
) : (
Not connected
)}
);
};
```
## Production readiness[](#production-readiness "Direct link to Production readiness")
Before deploying your project to production:
1. Update your `next.config.ts` with production domains.
2. Set up proper environment variables.
3. Configure your Dynamic SDK environment ID.
4. Ensure MetaMask SDK is properly initialized.
## Troubleshooting[](#troubleshooting "Direct link to Troubleshooting")
Common issues and solutions include:
- **SDK initialization error:**
- Ensure MetaMask is installed.
- Check environment variables.
- Verify network connectivity.
- **TypeScript errors:**
- Update type definitions.
- Check SDK versions compatibility.
- **Mobile experience issues:**
- Test on actual mobile devices.
- Verify redirect URLs.
- Check MetaMask mobile app installation.
## Next steps[](#next-steps "Direct link to Next steps")
- [Manage user accounts](/metamask-connect/evm/guides/manage-user-accounts/)
- [Send transactions](/metamask-connect/evm/guides/send-transactions/)
- [Sign data](/metamask-connect/evm/guides/sign-data/)
## Live example[](#live-example "Direct link to Live example")