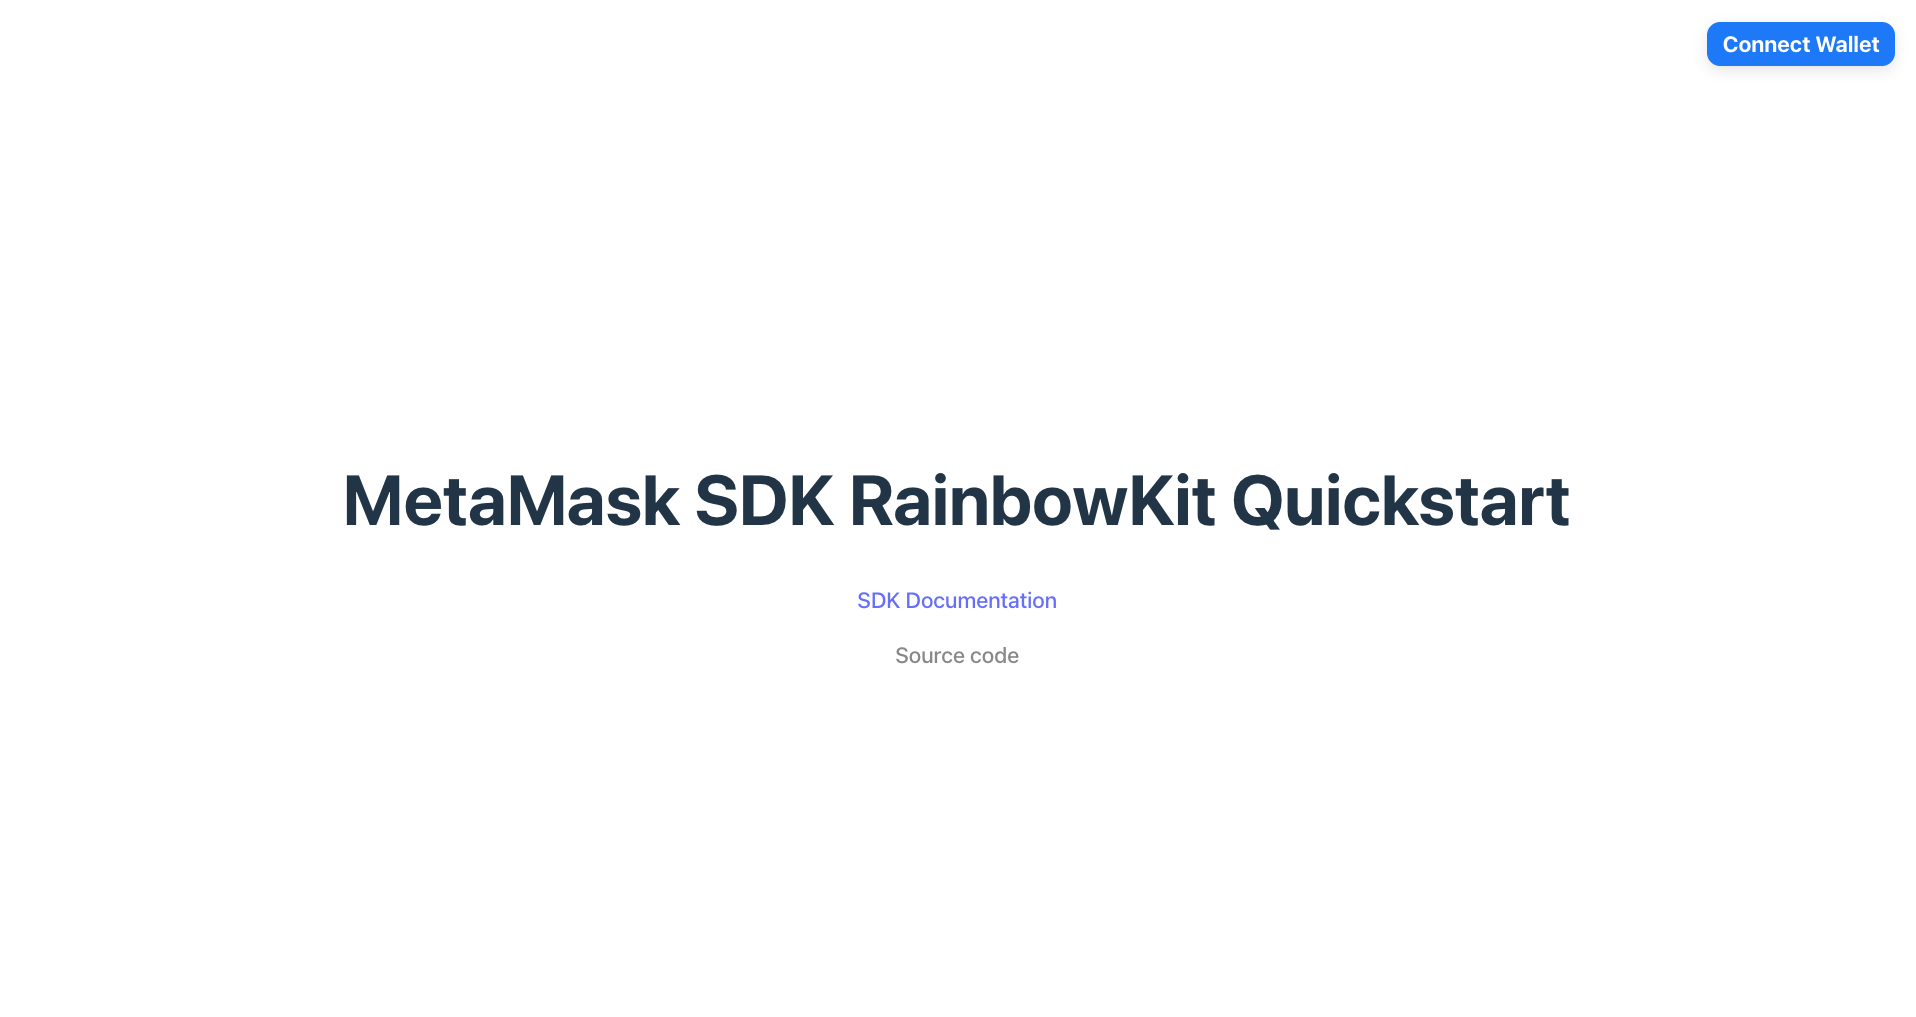
Connect to MetaMask using JavaScript + RainbowKit
Get started with MetaMask SDK in a JavaScript and RainbowKit dapp. You can download the quickstart template or manually set up the SDK in an existing dapp.
Prerequisites
- Node.js version 19 or later installed.
- A package manager installed, such as npm, Yarn, pnpm, or bun.
- MetaMask installed in your browser or on mobile.
- A WalletConnect project ID from the Reown dashboard.
Set up using a template
-
Download the MetaMask SDK RainbowKit template:
npx degit MetaMask/metamask-sdk-examples/quickstarts/rainbowkit metamask-rainbowkit -
Navigate into the repository:
cd metamask-rainbowkitDegit vs. Git clone
degitis a tool that enables cloning only the directory structure from a GitHub repository, without retrieving the entire repository.Alternatively, you can use
git clone, which will download the entire repository. To do so, clone the MetaMask SDK examples repository and navigate into thequickstarts/rainbowkitdirectory:git clone https://github.com/MetaMask/metamask-sdk-examples
cd metamask-sdk-examples/quickstarts/rainbowkit -
Install dependencies:
pnpm install -
Create a
.env.localfile:touch .env.local -
In
.env.local, add aVITE_WALLETCONNECT_PROJECT_IDenvironment variable, replacing<YOUR-PROJECT-ID>with your WalletConnect project ID:.env.localVITE_WALLETCONNECT_PROJECT_ID=<YOUR-PROJECT-ID> -
Run the project:
pnpm dev
Set up manually
1. Install the SDK
Install MetaMask SDK along with its peer dependencies to an existing React project:
- npm
- Yarn
- pnpm
- Bun
npm install @rainbow-me/rainbowkit wagmi viem@2.x @tanstack/react-query
yarn add @rainbow-me/rainbowkit wagmi viem@2.x @tanstack/react-query
pnpm add @rainbow-me/rainbowkit wagmi viem@2.x @tanstack/react-query
bun add @rainbow-me/rainbowkit wagmi viem@2.x @tanstack/react-query
2. Import required dependencies
In the root of your project, import the required RainbowKit, Wagmi, and TanStack Query dependencies:
import '@rainbow-me/rainbowkit/styles.css'
import { getDefaultConfig, RainbowKitProvider } from '@rainbow-me/rainbowkit'
import { WagmiProvider } from 'wagmi'
import { metaMaskWallet } from '@rainbow-me/rainbowkit/wallets'
import { mainnet, linea, sepolia, lineaSepolia } from 'wagmi/chains'
import { QueryClientProvider, QueryClient } from '@tanstack/react-query'
3. Configure your project
Set up your configuration with the desired chains and wallets.
In the following example, replace <YOUR-PROJECT-ID> with your WalletConnect project ID:
const config = getDefaultConfig({
  appName: 'MetaMask SDK RainbowKit Quickstart',
  projectId: '<YOUR-PROJECT-ID>',
  chains: [mainnet, linea, sepolia, lineaSepolia],
  wallets: [
    {
      groupName: 'Preferred',
      wallets: [metaMaskWallet],
    },
  ],
  ssr: false, // true if your dapp uses server-side rendering.
})
4. Set up providers
Wrap your application with the WagmiProvider, QueryClientProvider, and RainbowKitProvider providers:
const queryClient = new QueryClient()

createRoot(document.getElementById("root")!).render(
  <StrictMode>
    <WagmiProvider config={config}>
      <QueryClientProvider client={queryClient}>
        <RainbowKitProvider>
          <App />
        </RainbowKitProvider>
      </QueryClientProvider>
    </WagmiProvider>
  </StrictMode>
);
5. Add the connect button
Import and render the ConnectButton component:
import { ConnectButton } from '@rainbow-me/rainbowkit'

function App() {
  return <ConnectButton />
}

export default App
You can now test your dapp by running pnpm run dev.
