Create a new project in the dashboard
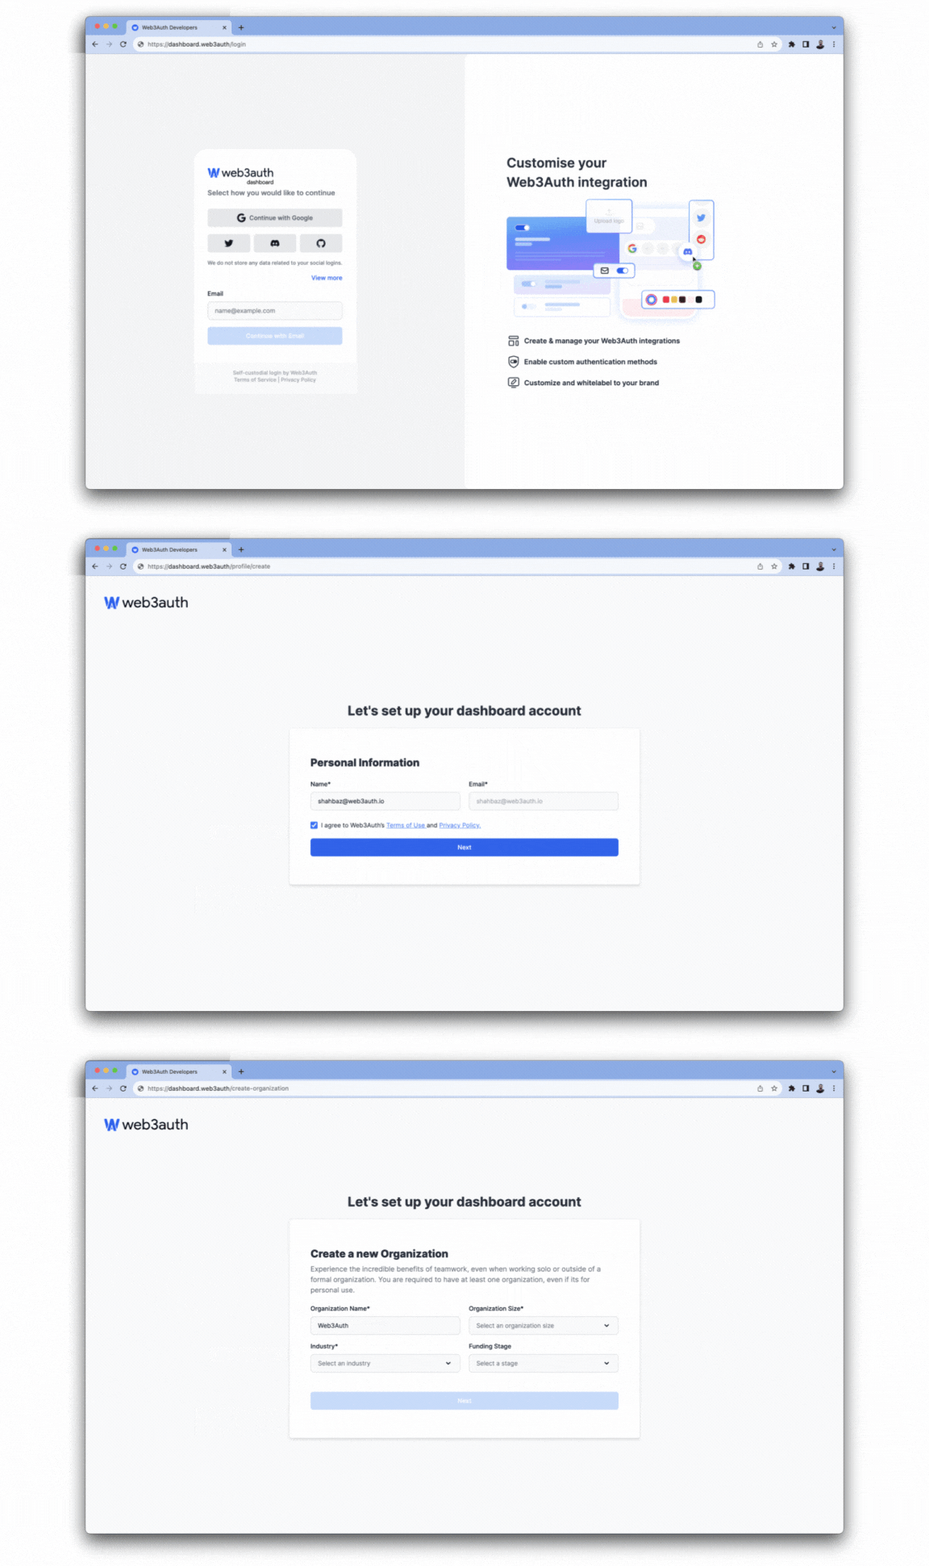
To get started, visit the Web3Auth dashboard, log in using one of your social accounts or email address. You can use the dashboard to manage your projects, configurations, wallet UI, and more for MetaMask Embedded Wallets.
While setting up your account, you will be prompted to share some basic information about your organization.

Once you've set up your account, you can use the dashboard to manage your projects and team.
Use the projects page of the dashboard to create and manage new projects for your account. Resources, including wallets, authentication methods, and more are scoped to individual projects.
Create a new project
Before implementing any Embedded Wallet SDK, developers must create a new project in the Web3Auth Dashboard. This process generates a Client ID required for SDK integration.
To ensure optimal security of credentials, it's recommended to maintain separate projects for different environments (such as development, staging, production).
Log in to the Web3Auth Dashboard and create a new project if you haven't already.
Get the client ID
After creating a project:
- Navigate to Project Settings.
- Select the General tab to obtain the
Client ID.
The project comes pre-configured with default connections, chains, and networks to facilitate faster integration with the SDKs.
Dashboard configuration
Once your project is created, you can configure various aspects of your integration through the dashboard:
- Project settings - Basic project information, credentials, and token verification
- Allowlist settings - Domain and URL authorization for enhanced security
- Advanced project settings - Advanced configuration options
- Session management - Session duration and behavior
- Test accounts - Development testing environment
- User details in ID Token - JWT token user data configuration
- Key export settings - Private key export permissions
- Chains and networks - Manage blockchain networks and custom chain configurations
- Authentication - Configure login methods, social connections, and custom authentication
- Wallet services - Customize wallet UI and configure wallet features
- Customization - Brand your login flow and customize the user experience
- Analytics - Monitor project usage and user engagement metrics